If you’re looking for a way to update the floors in your home, you may want to consider tile. Tile flooring is durable, easy to clean, and comes in a wide range of styles, colors, and patterns to suit your taste. While hiring a professional to install tile flooring is always an option, with a little bit of know-how, you can install tile flooring yourself and save money in the process. Here’s how to do it:
Gather Your Materials
The first step in installing tile flooring is to gather your materials. You’ll need the following:
- Tiles
- Tile spacers
- Tile adhesive
- Grout
- Grout sealer
- Tile cutter or wet saw (available for rent at home improvement stores)
- Notched trowel
- Sponge
- Bucket
- Level
- Tape measure
Prepare the Surface
The next step is to prepare the surface you’ll be tiling. Whether you’re installing tile in a kitchen, bathroom, or another room, the surface needs to be clean, dry, and level. Here’s how:
- Clean the surface: Sweep or vacuum the floor to remove any debris or dust. Then, use a mop or cloth to clean the surface with a solution of warm water and mild detergent. Rinse the surface with clean water and let it dry completely.
- Level the surface: Use a level to check for any low spots or high spots on the surface. If there are any low spots, use a self-leveling compound to even out the surface. If there are any high spots, use a grinder to remove them.
- Plan the layout: Before you start tiling, plan the layout of the tiles. Start by making a straight line down the center of the room. Then, dry-fit the tiles along the line to determine the best layout. Use tile spacers to ensure even spacing between the tiles.
Install the Tiles
Now that you’ve prepared the surface, it’s time to install the tiles. Here’s how:
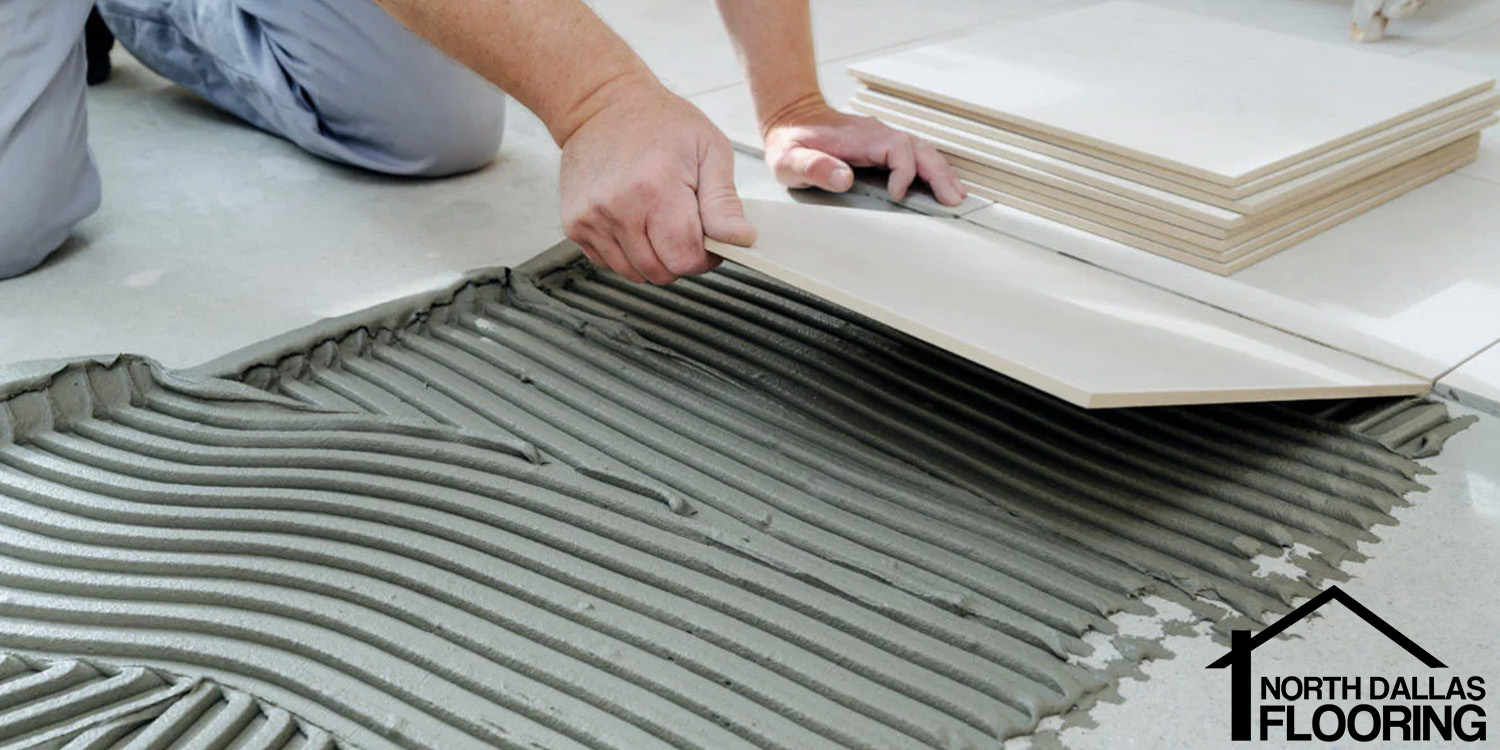
- Apply the adhesive: Using a notched trowel, apply the tile adhesive to a small area of the surface. Start at the center of the room and work your way out. Only apply enough adhesive for a few tiles at a time.
- Install the tiles: Place the tiles on the adhesive, starting at the center of the room and working your way out. Use tile spacers to ensure even spacing between the tiles. Press the tiles firmly into the adhesive, ensuring they are level and even.
- Cut the tiles: To fit tiles around the edges of the room or around obstacles, use a tile cutter or wet saw to make the necessary cuts.
- Let the adhesive dry: Once you’ve installed all the tiles, let the adhesive dry according to the manufacturer’s instructions. This may take anywhere from a few hours to overnight.
Grout the Tiles
After the adhesive has dried, it’s time to grout the tiles. Here’s how:
- Mix the grout: Mix the grout according to the manufacturer’s instructions. Use a bucket and a trowel to mix the grout to a smooth, thick consistency.
- Apply the grout: Using a rubber float, apply the grout to the tiles. Work the grout into the spaces between the tiles, ensuring that it is packed in tightly. Wipe away any excess grout with a damp sponge.
- Seal the grout: Once the grout has dried, apply a grout sealer according to the manufacturer’s instructions. This will protect the grout from stains and discoloration.
With these steps, you can install tile flooring in your home and enjoy a beautiful, durable, and easy-to-clean surface that will last for years to come.
If you prefer to let professionals do the job, North Dallas Flooring is here to help! Reach out for an in-home quote.